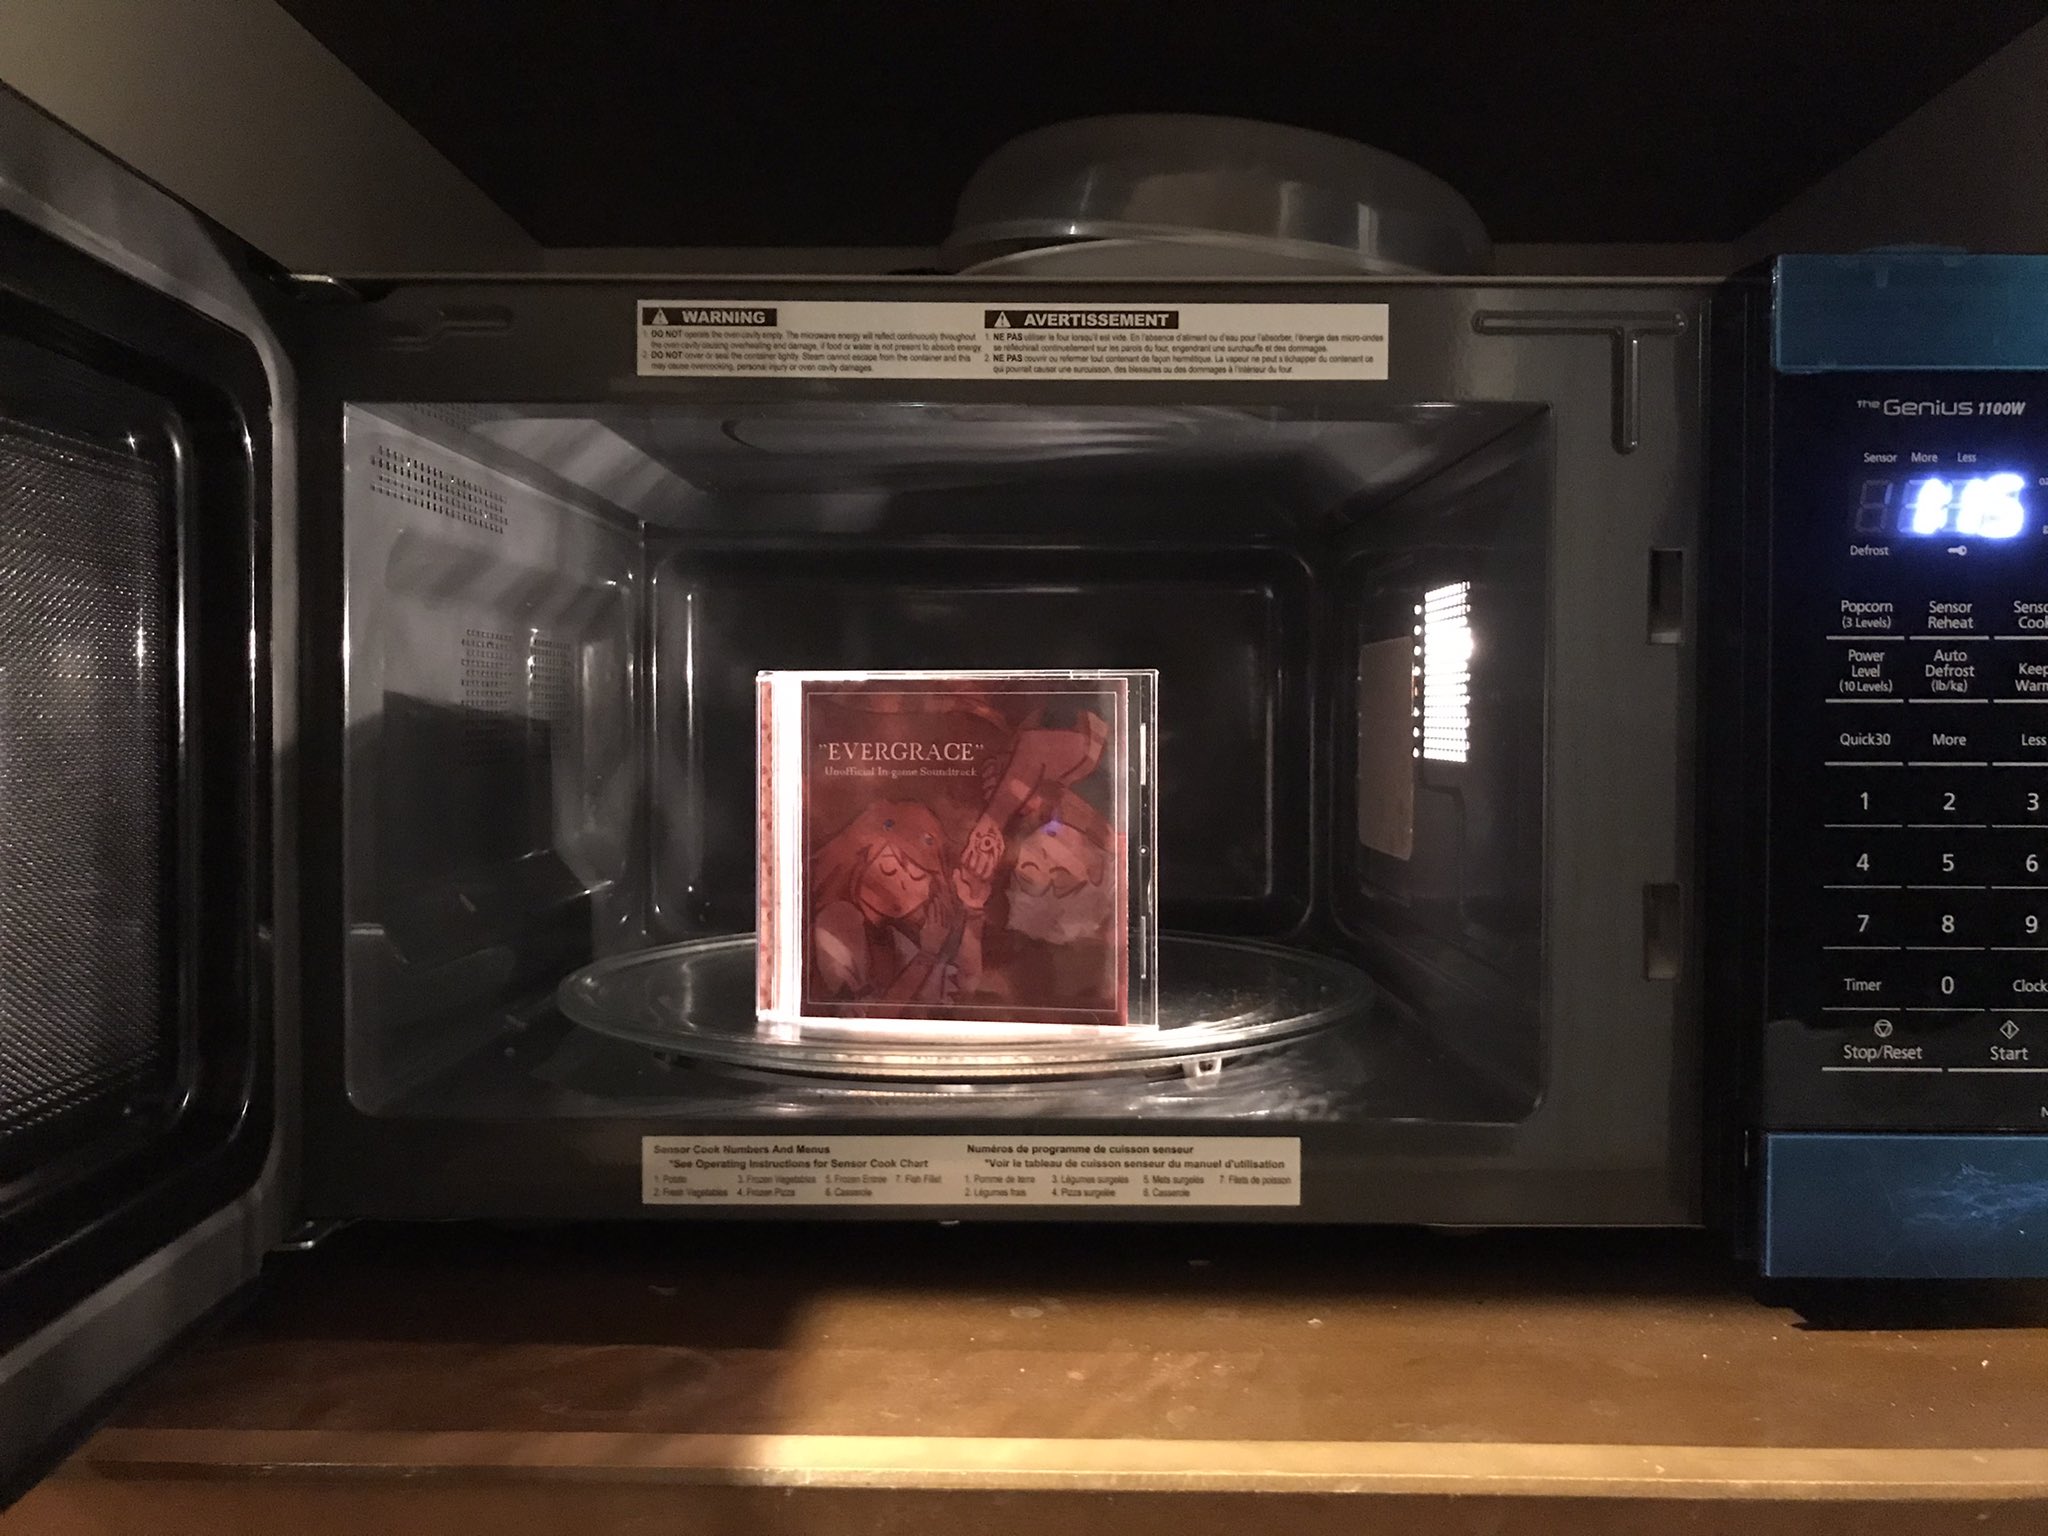
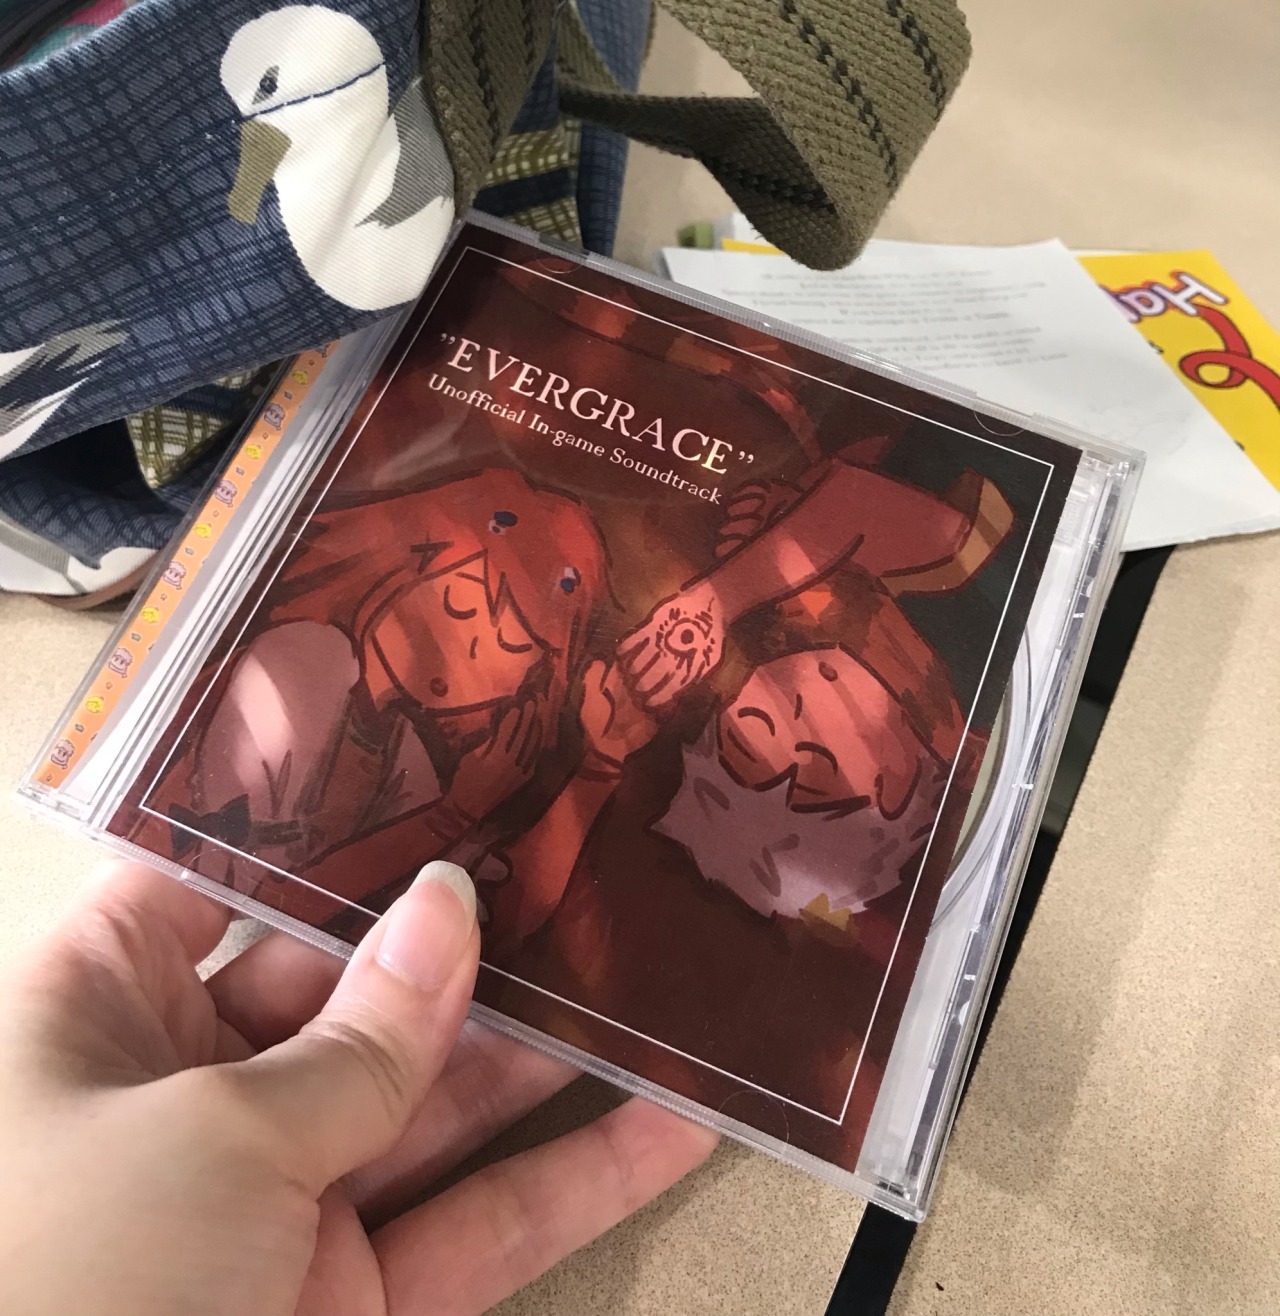
Make your own Evergrace Unofficial In-game Soundtrack CD!

Download the jewel case templates here. (1, 2)
And download the soundtrack here.
What else will you need for this?
- Colour printer
- Printer paper (my template is in US letter size)
- Scissors (or if you wanna be fancy, a paper cutter)
- An empty jewel case (basically a fancy term for those square CD cases)
- Blank Audio CD
- Permanent markers (if you wanna decorate the CD)
- CD Drive and a computer
- Burning software (I used Windows Media Player)
If you don't have access to things like a colour printer, try your local library!
Mine had a paper cutter and great colour printing, plus classes on how to do cool technology things if you need further help on CD burning (my guide will be brief).
Let's start with the CD burning!
- Download the soundtrack ZIP up above.
- Bring it into a burning software.
- Get your blank CD ready!
Do note, make sure it's an audio CD and not a DVD-R or something.
While both will play on your computer, DVDs won't work on CD players at all. - Now, this part I should warn you on.
I fucked up a CD before this (and you can't format disks after they're burned to try again)...
So I suggest you set your burn speed to the slowest it can go. - Let it burn! And afterwards, put it back into your computer to test the disk.
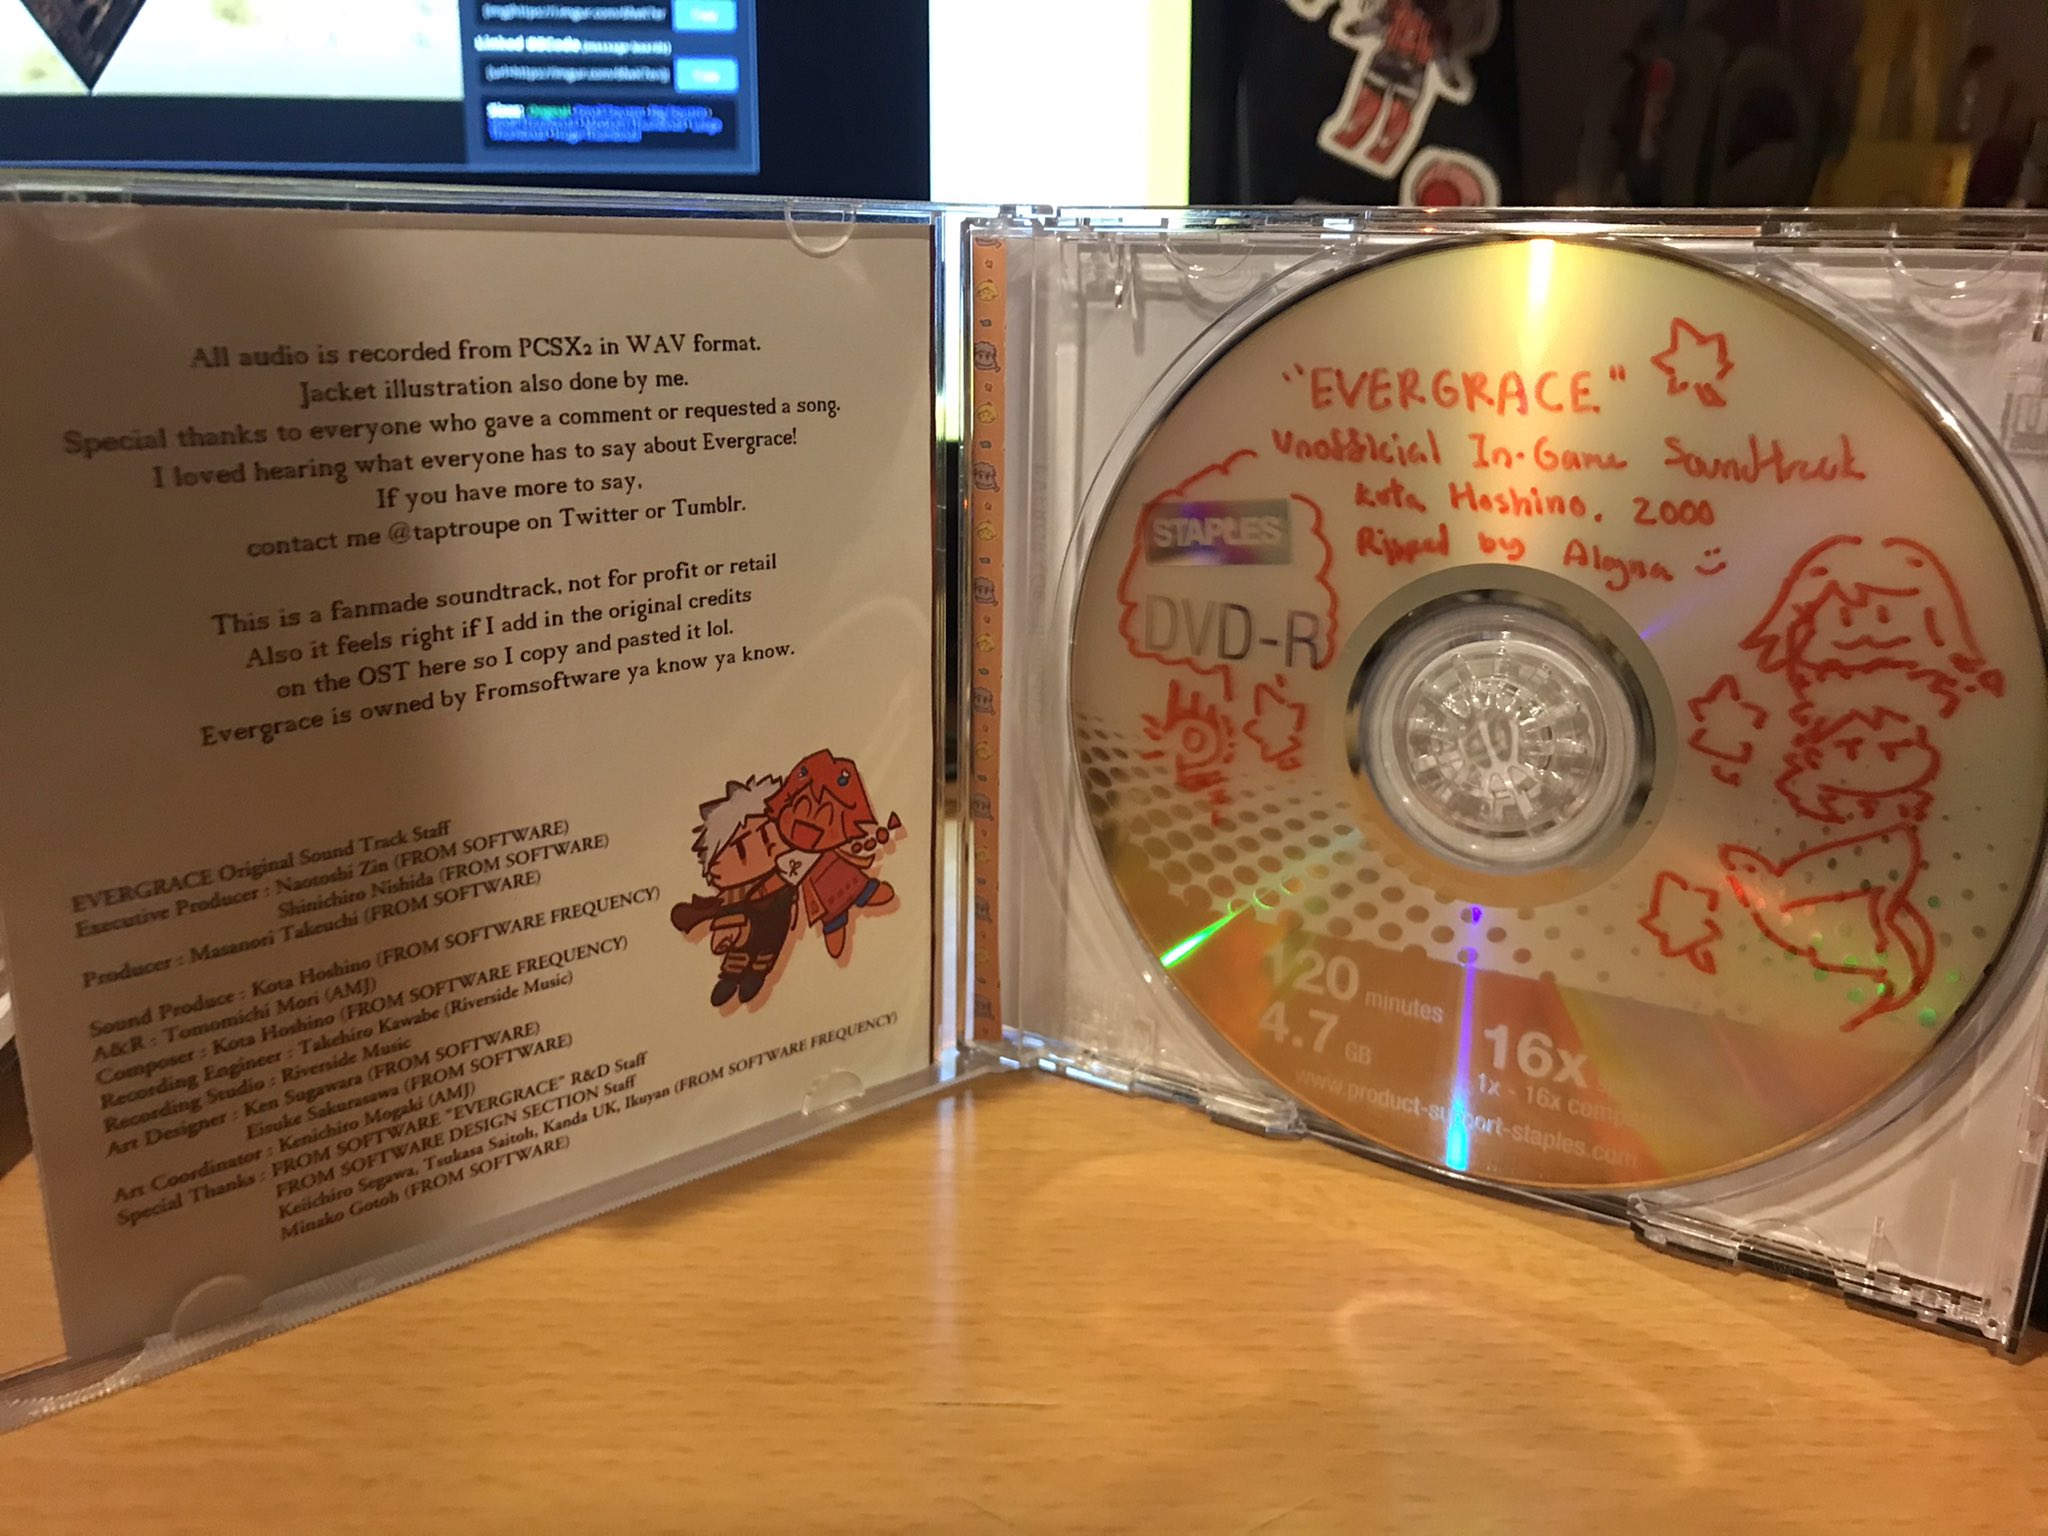
- Lastly, also optional, give it a nice written label (and fun doodles) so others know you have a very important CD on your hands now.

Optionally, test it on your CD players if you have any lying around.
Burned CDs don't work with every player though (I got a 50% success rate), so keep that in mind.

Next is Jewel Case assembly!
- Download the jewel case template.
- Print it out in letter (US) format!
- Disassemble your jewel case. There's guides online for this, because I don't wanna be responsible for broken plastic... I've never broken one yet though!
- Cut out the templates - I used a paper cutter because I cannot cut straight lines. They are very handy if you need to make minute fitting adjustments.
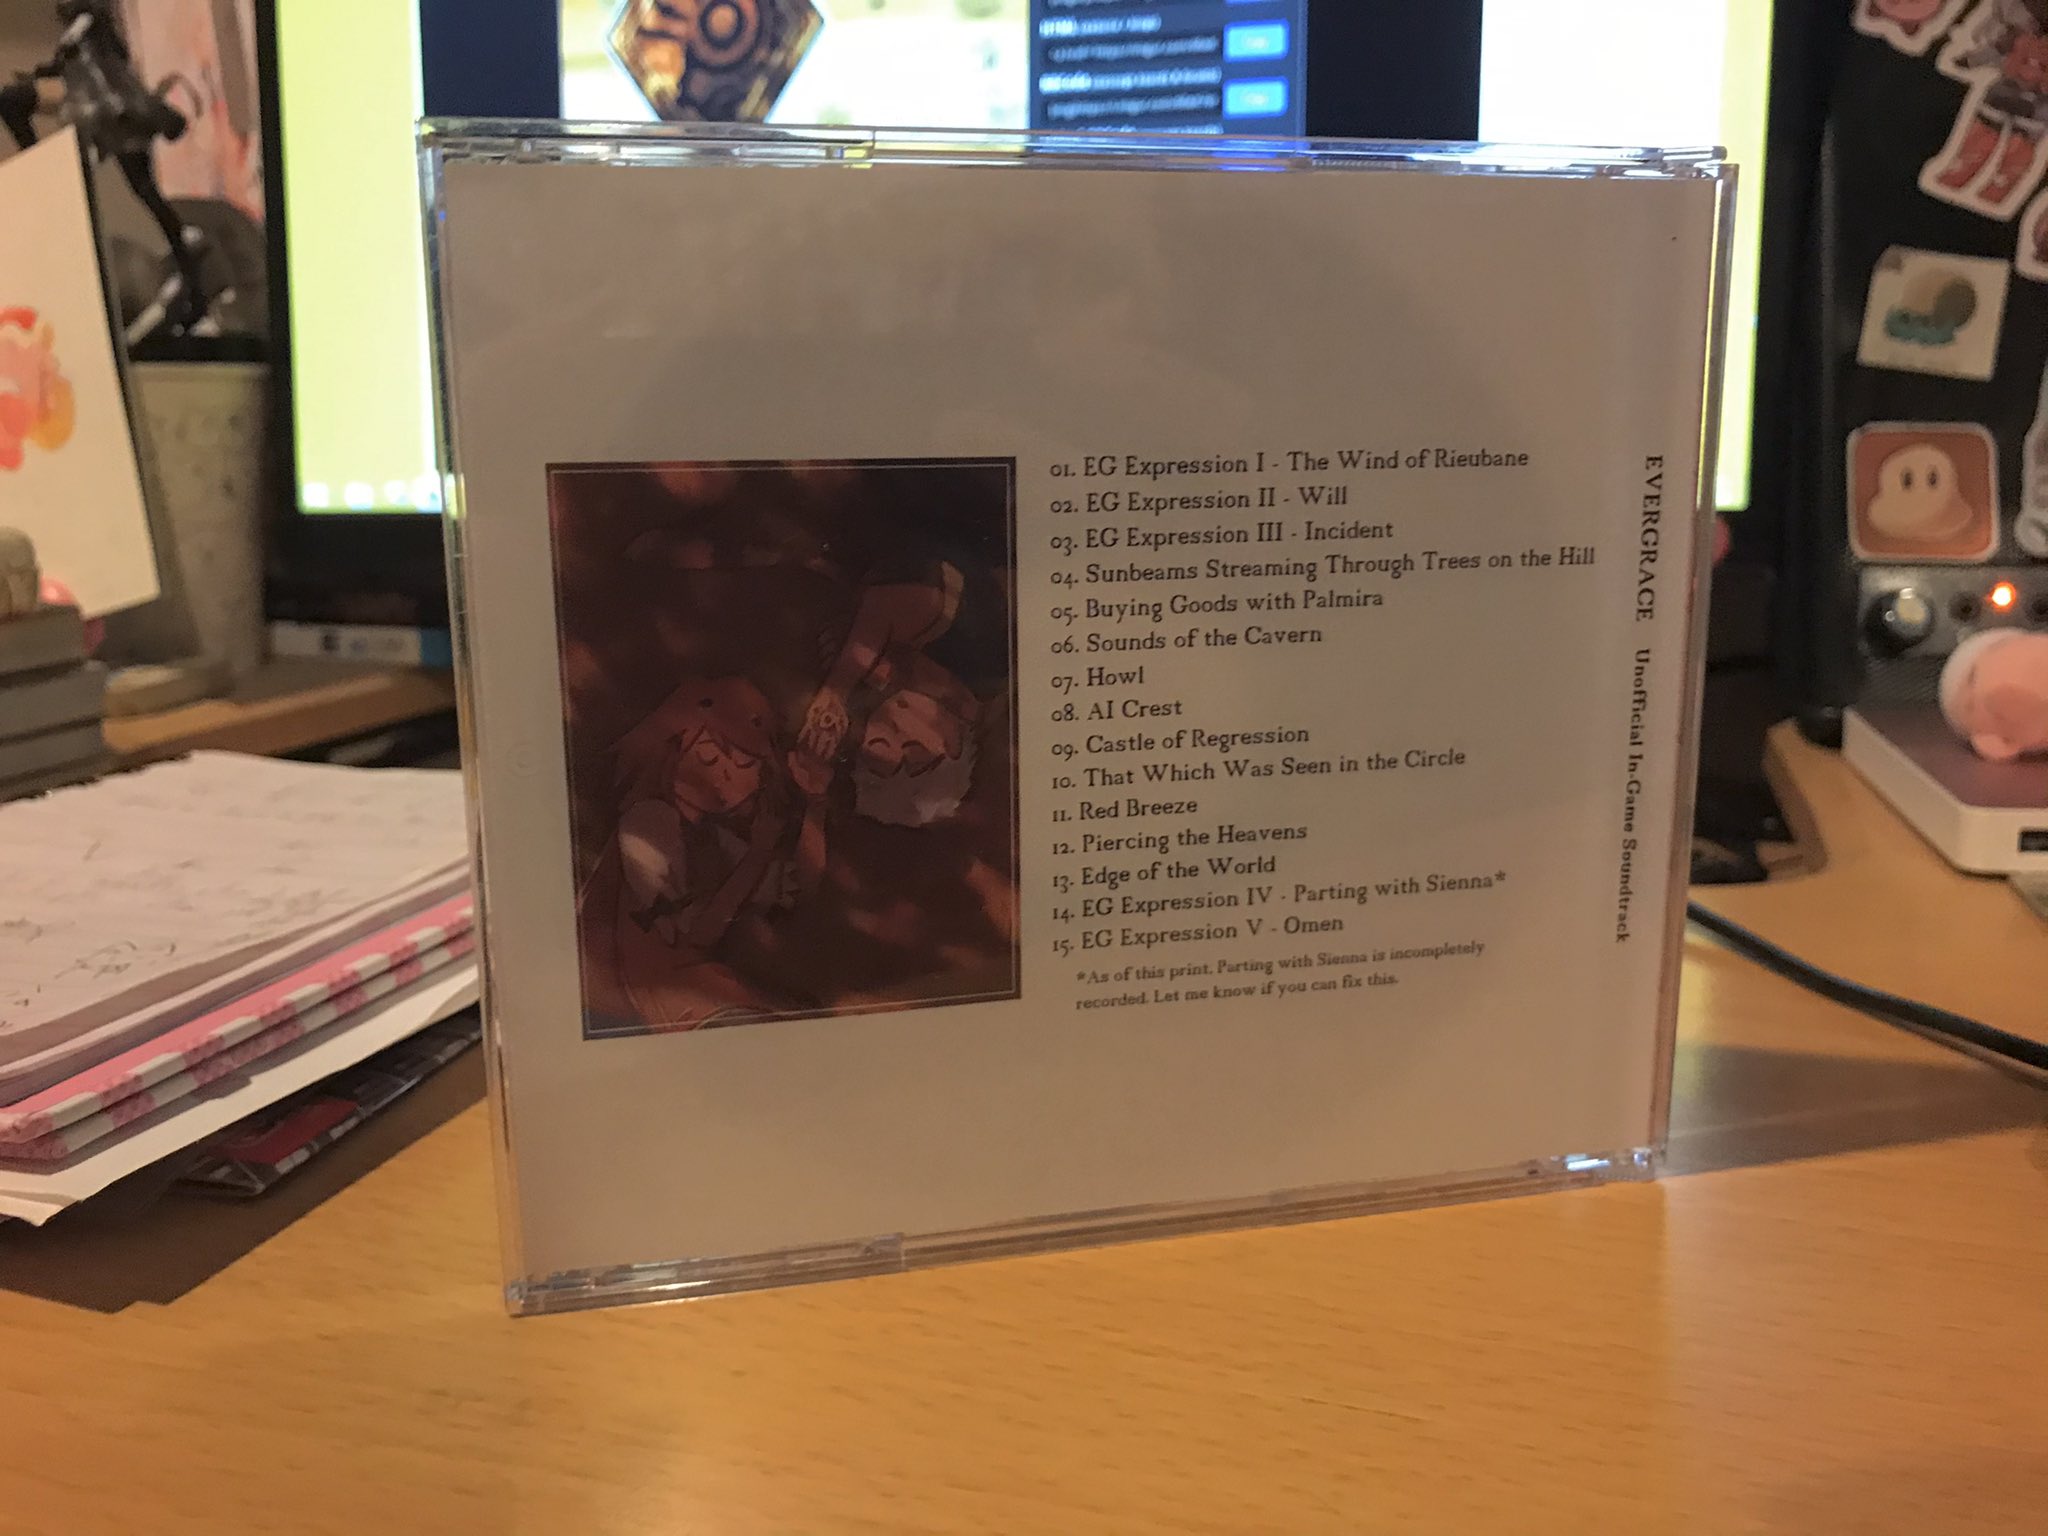
- For the backing, fold in the left label first. It's a lot easier to fold in one side and then crease from there.
- The patterned side is meant to wrap around the right spine and to the front of the jewel case.
I haven't seen many CD backings wrap to the front, so if you don't like it feel free to cut it. Customize it your way!
In fact, I'll need to update the template whenever I finally record that track properly... - Fold the front cover booklet and slip it in the front.
- Reassemble the jewel case, snap the CD into its spot and then...
You may want to print out a test monochrome template first, in case your jewel case dimensions are different from mine.
In fact, yeah go do that, because fitting paper into a jewel case takes some practice haha...

YOU'RE DONE!!!!

Not so hard to make your own soundtrack, was it?
Of course, actually designing the template and making several prototypes and wasting CDs wasn't as easy...
I typed this little guide up to test my HTML powers and because our newer generation may not know much about burning CDs and jewel cases and such (or maybe it's just me idk).
So, I hope you'll enjoy and perhaps make your own Evergrace soundtrack!
You can easily change it up and make it exactly like the Evergrace Original Sountrack version, too!
And it won't cost you 80000 yen! ;)